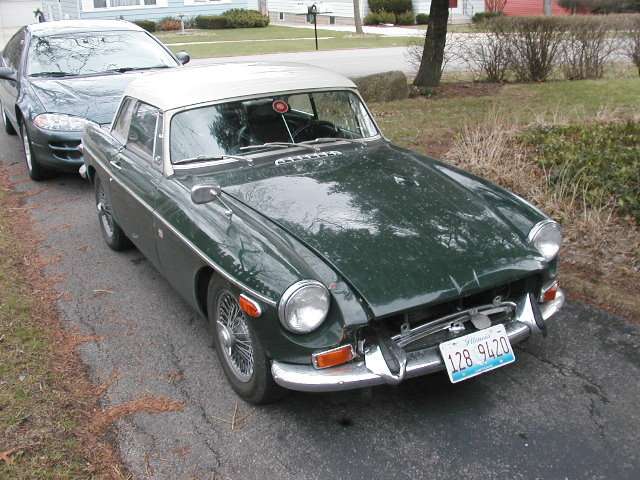
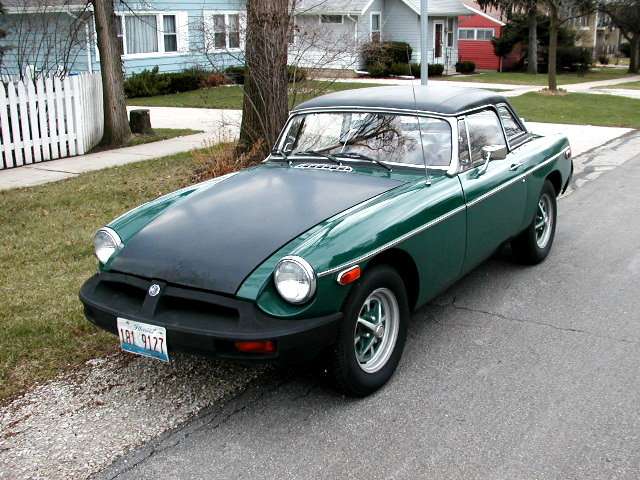
MGB Body Sill Replacement
April 5, 2003 - Downers Grove, IL
Now cut that out !!! The only way to get rid of serious rust.
Click for larger images. - Larger pics average 36KB.
 |
 |
 |
 |
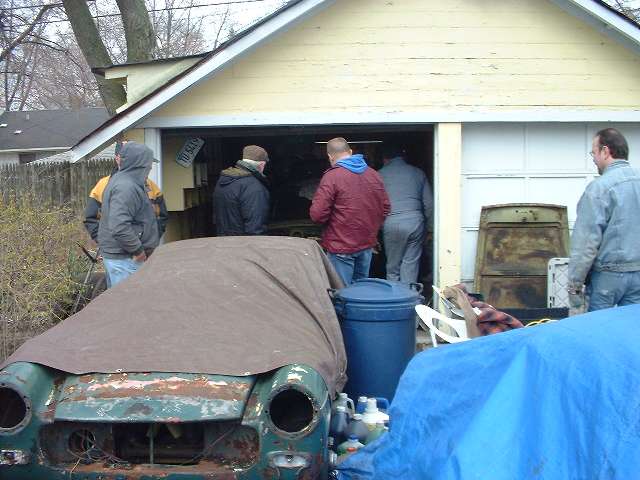
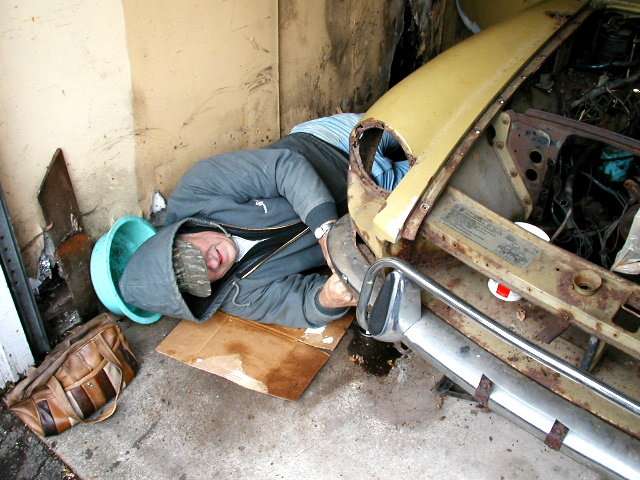
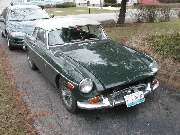
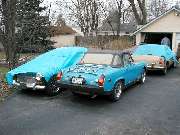
Gathering of the clan at 9:00am, a few more cars in need of some body work and paint at some future date, but none so serious as today's project. Early morning saw a few snow flakes. Later the temperature crept up to a meager 38dF, and the sun came out for a while to boost the spirits. Most of us were dressed well enough for work in the unheated garage.
|
 |
 |
 |
 |
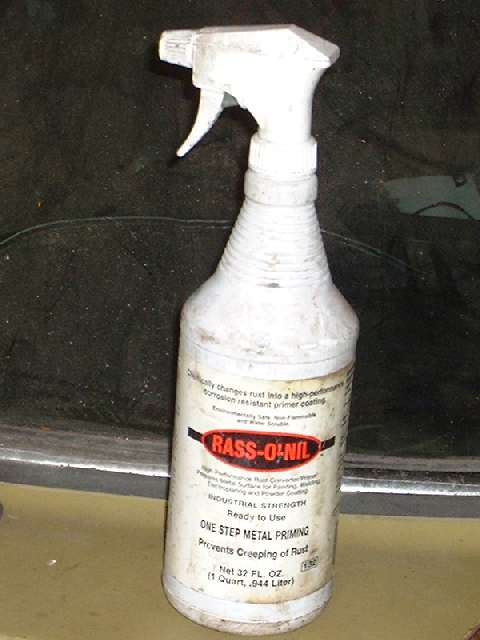
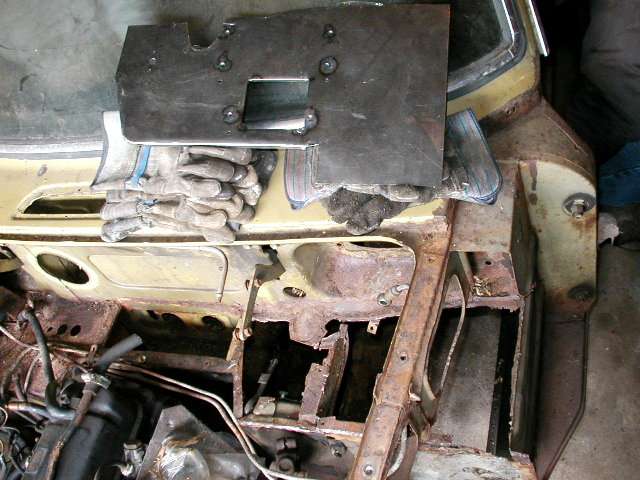
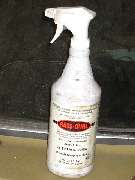
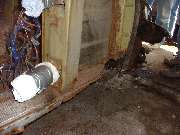
Above we see a new panel that was previously hand formed from flat sheet stock. This is to replace the driver side of the heater shelf in the area of the pedal and master cylinder mounting. The white bottle is Rrass-O-Nil, a one-step metal primer. This product's claim to fame is that it protects the sheet metal against creeping rust under the paint if the paint should get a scratch or a chip. Spray on like water and wipe gently to a damp coating, then allow to dry naturally. Humidity in the air helps. The final appearance is gray or black in color.
|
 |
 |
 |
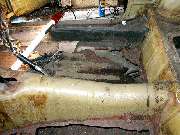 |
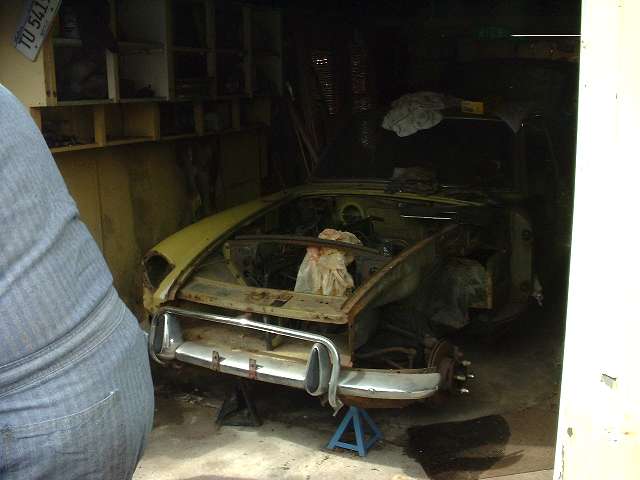
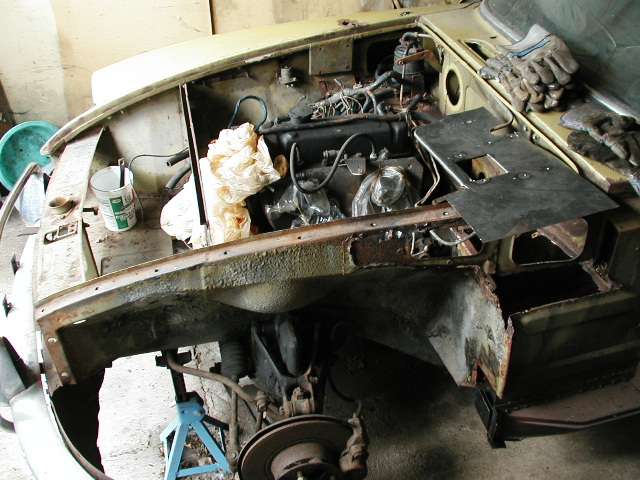
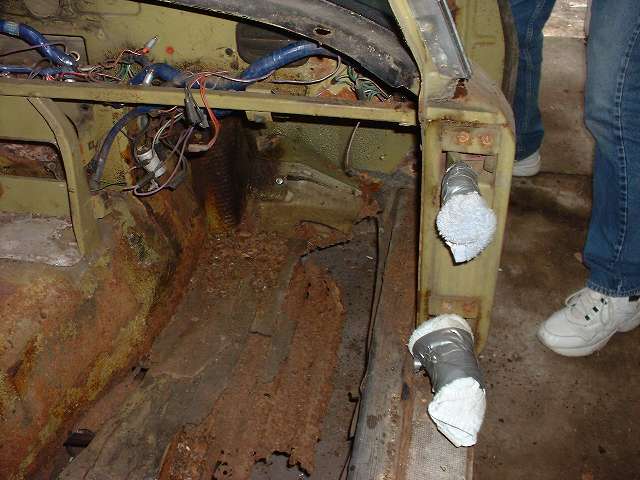
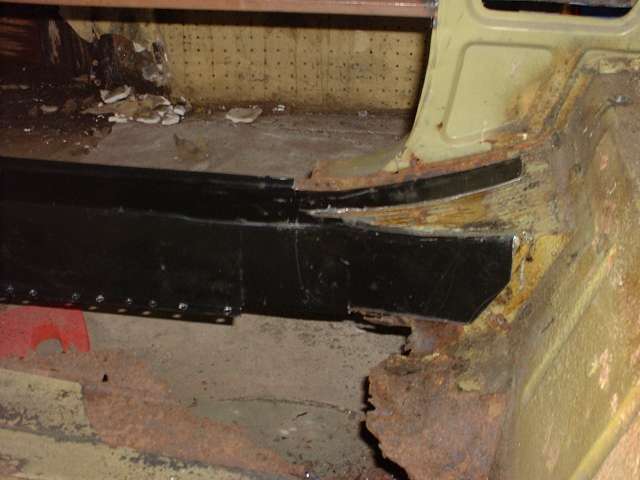
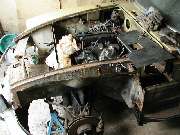
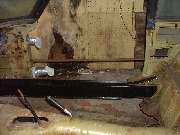
A walk past the side and a peek inside reveals the left side sill which has previously been (mostly) replaced, and the right side sill which needs replacing today.
|
 |
 |
 |
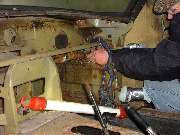 |
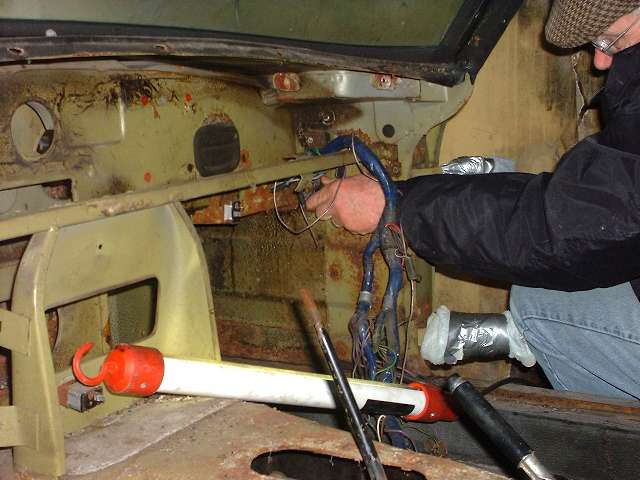
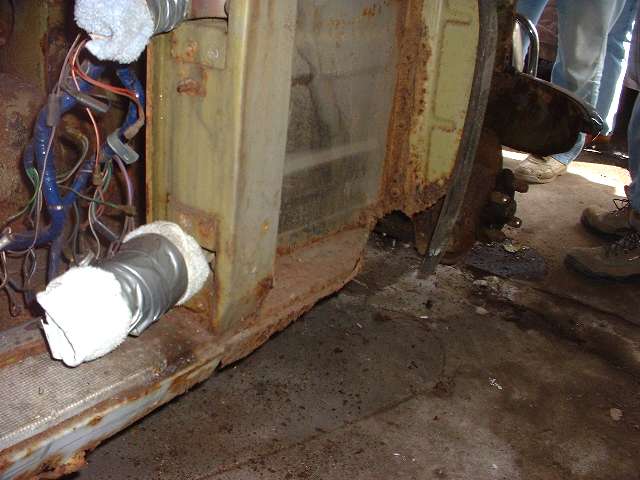
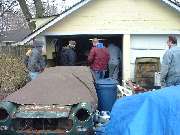
Removing the right front fender requires extracting bolts from inside the passenger compartment, under the front end, on top of the fender, and finally a few more found inside.
|
 |
 |
 |
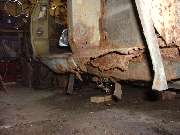 |
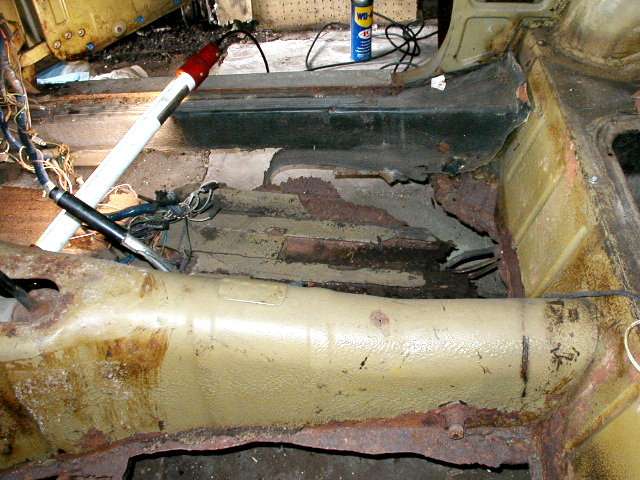
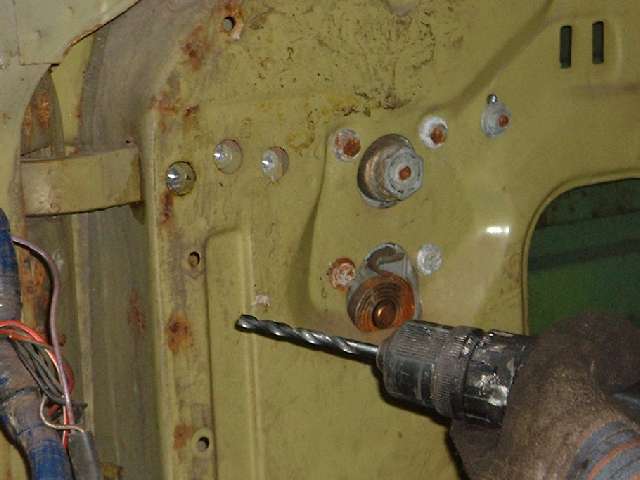
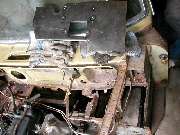
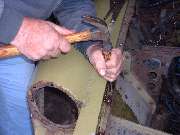
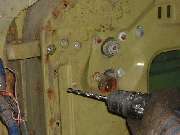
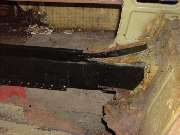
Removing the right side door started slow with stubborn screws, but we got past that by drilling out the hinge screws, and we were soon on to other tasks. With the fender and door removed, the rust in the sill was fully exposed. Most of the outer and intermediate panels were gone, as well as the entire bottom of the sill affecting all panels.
|
 |
 |
 |
 |
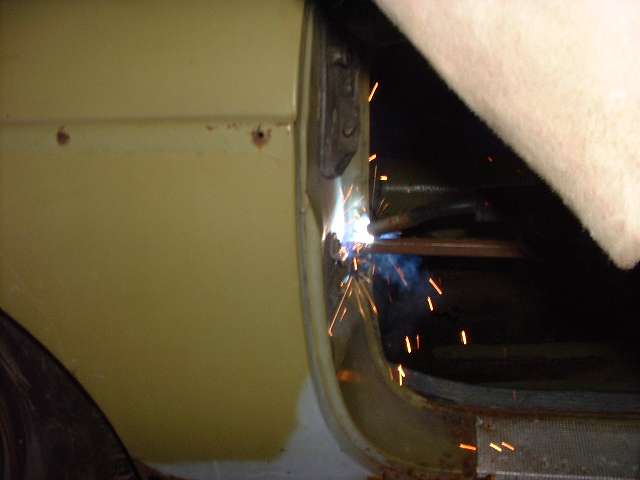
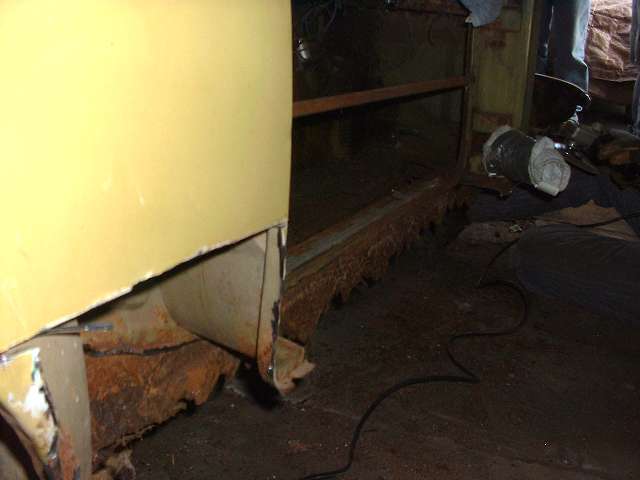
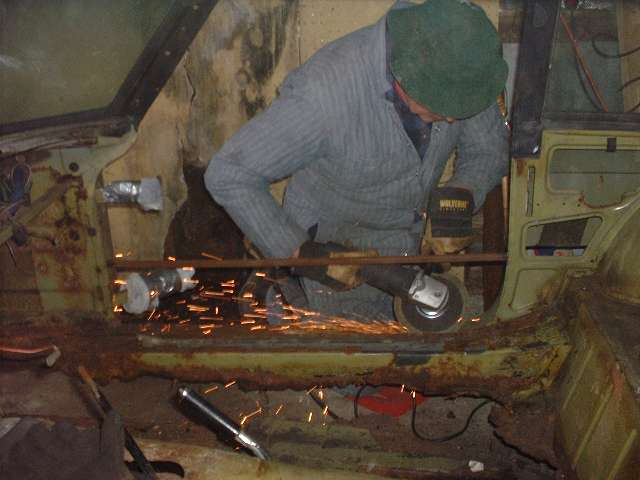
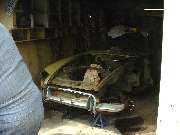
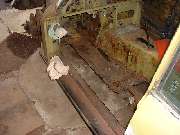
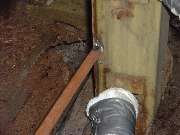
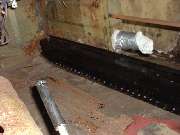
Before cutting out the sill, we tack weld a bar inside of the door opening to retain the proper spacing and alignment of the body during sill reconstruction. Then it's cut and grind until all of the offending rusted panels have been removed, leaving only full thickness sheet metal that is solid enough for welding together with the new panels. Picture on the right shows the demolition job about half done, but the inner sill panel was also cut away eventually.
|
 |
 |
 |
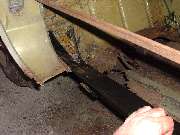 |
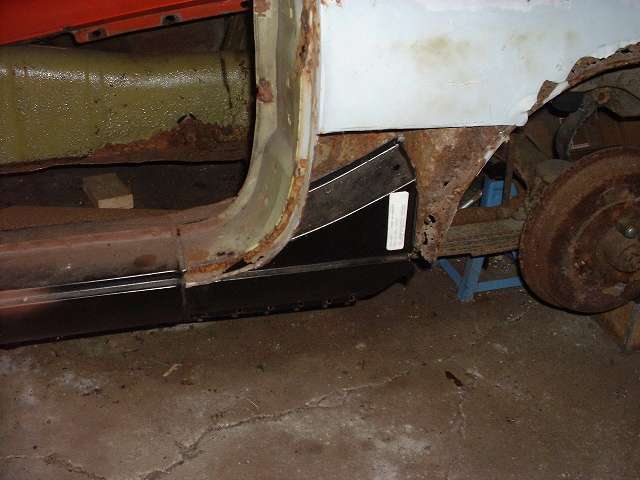
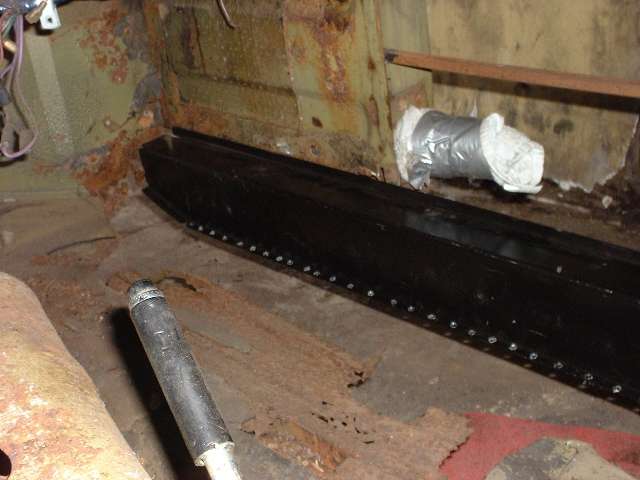
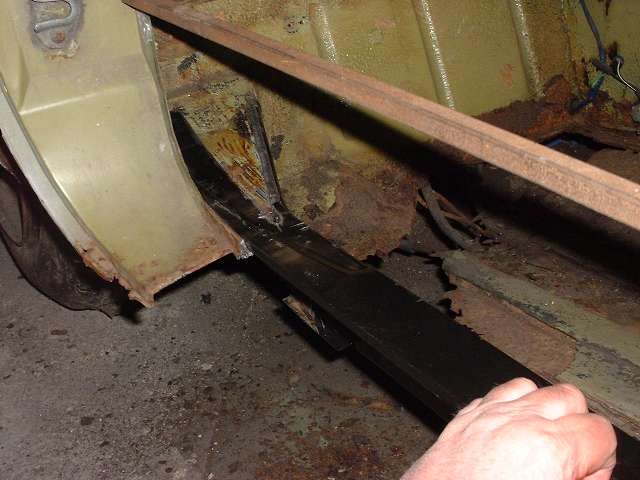
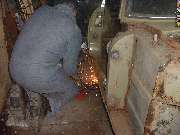
By mid afternoon the new inner sill panel was trimmed and snuggled up to a nice fit, ready for welding into place. Notice a series of holes that were drilled along the bottom flange in preparation for later plug welding the new panels together. Top flange is aligned to the original body flange within the space of a thumbnail. By mid afternoon the sun was off in hiding again and workers were getting a bit chilly, so it was time to call it a day. Undoubtedly this car will be the subject of several more body work tech sessions before it's ready for painting.
|
|

©2003 Chicagoland MG Club, All rights reserved.
|