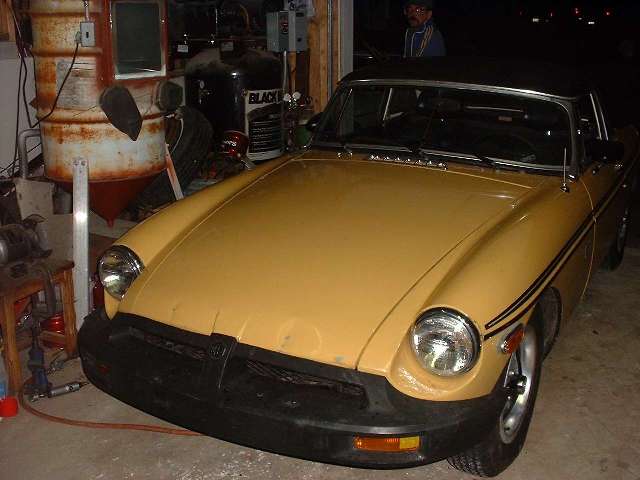
Carburetor Swap - March 31, 2001
Changing a single 1-3/4 inch Zenith-Stromberg
to twin 1-1/2 inch SU's
Page 4
Click on small pictures for BIGGER pictures (average 40K)
 |
 |
 |
 |
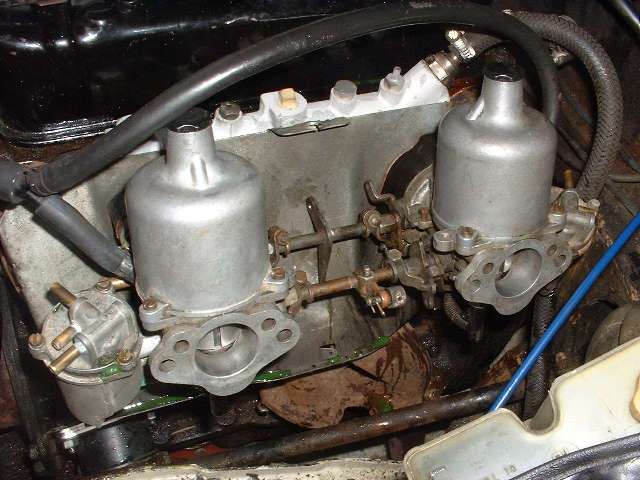
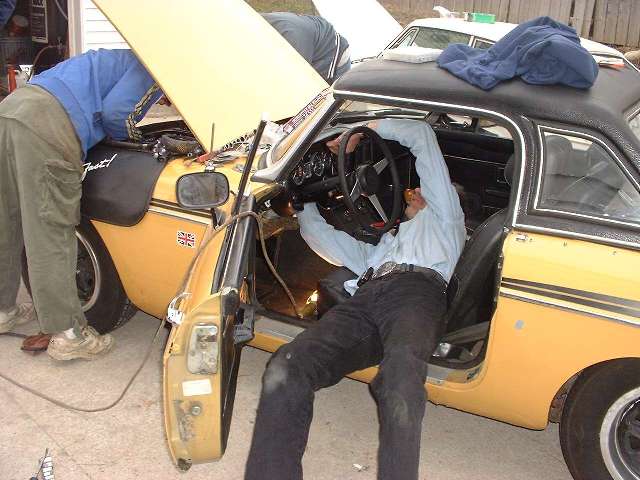
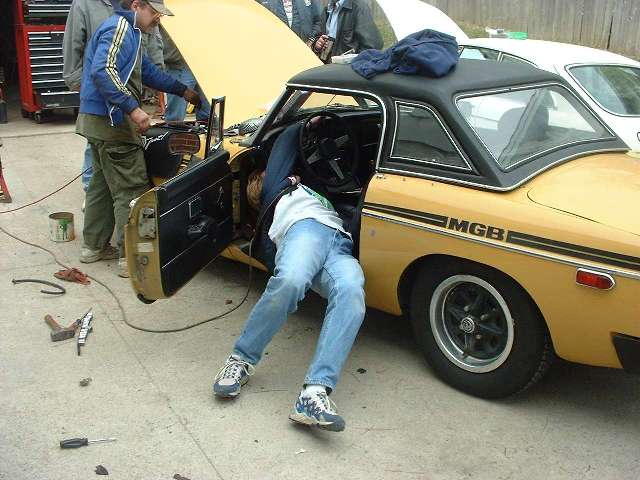
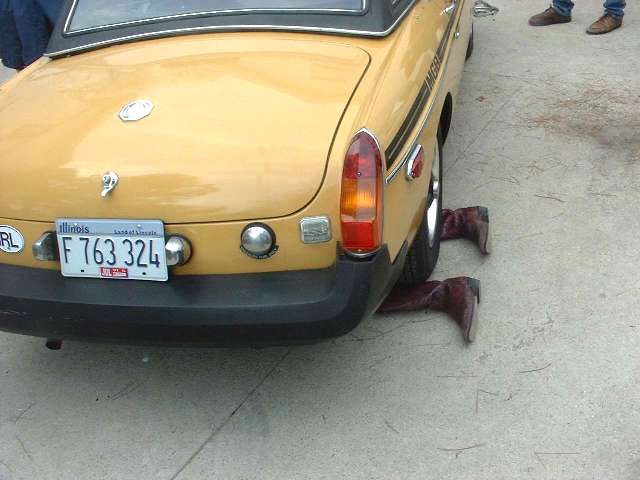
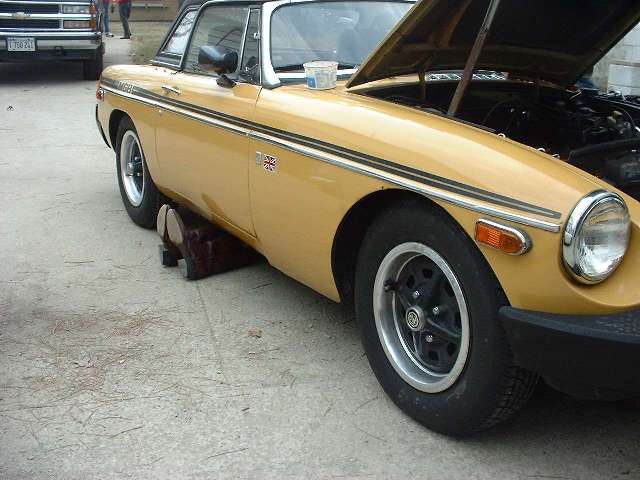
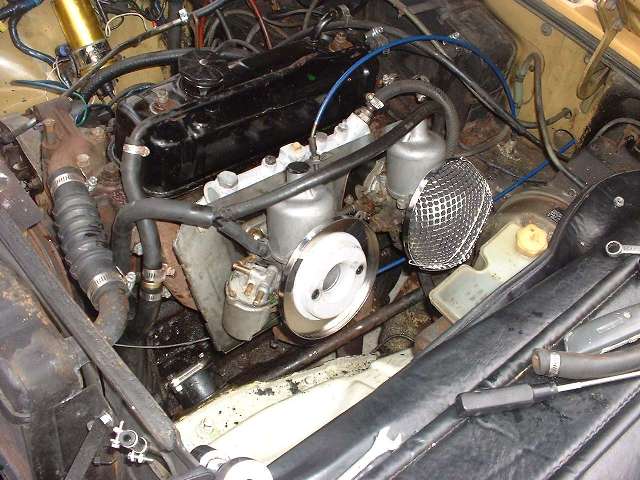
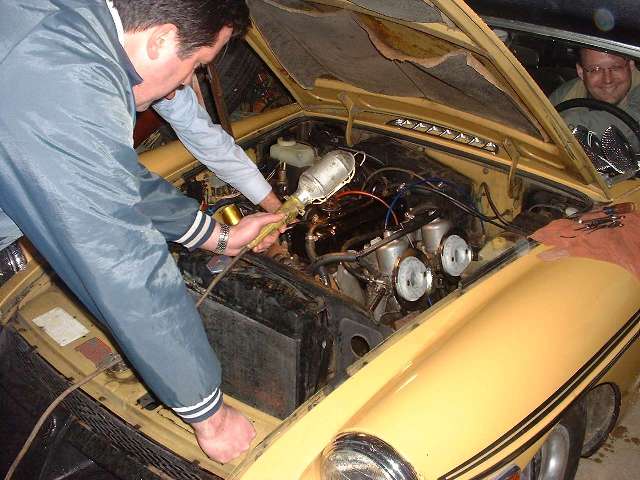
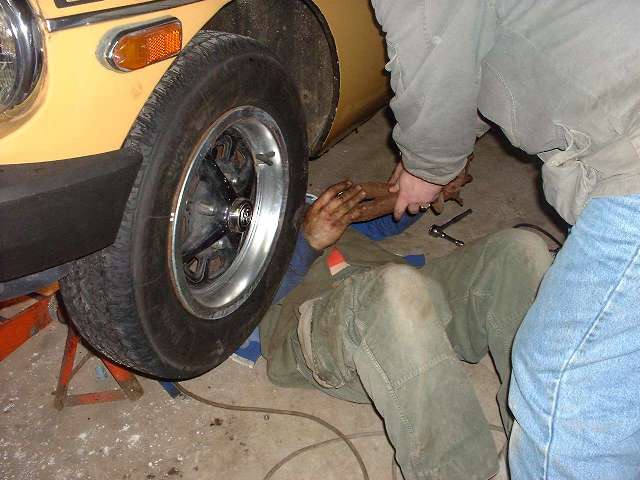
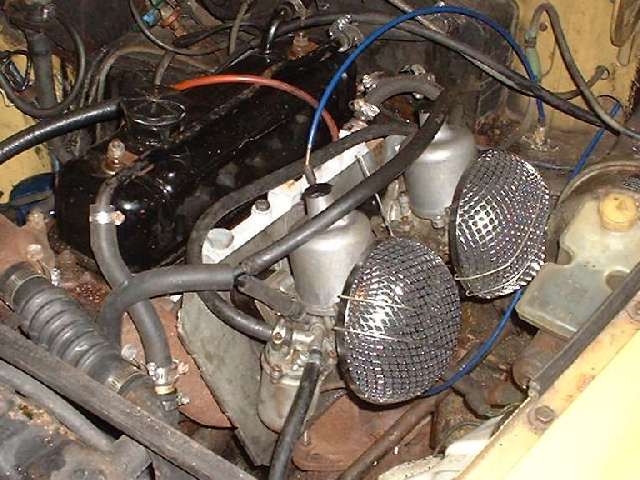
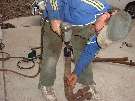
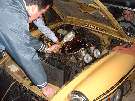
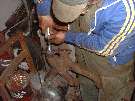
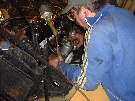
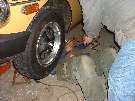
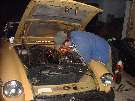
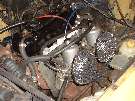
There we have the carbs all bolted up, throttle and choke shafts in place, vacuun hoses connected at the carbs, and brake booster vacuum hose connected at the back of the intake manifold. The little bit of spilled antifreeze was from the change over of the heater return hose and the removal of the hot water choke parts. While Tom is doing throttle cable hookup under the bonnet, Cowboy is guiding the cable under the dash. Score "Legs #2", having finally gotton someone else flat on his back. Then when Cowboy is having difficulty we score "Legs 3" as Hilary Smalley takes over for extra assistance. Cowboy figures to be useful elsewhere, so goes to check the differential oil. Legs #4?
|
 |
 |
 |
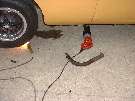 |
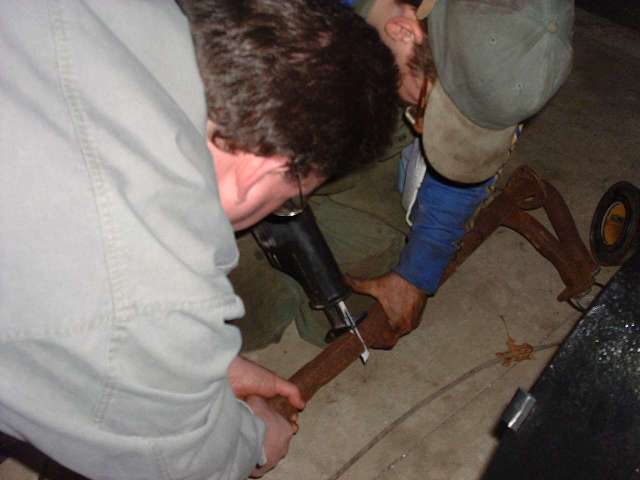
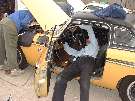
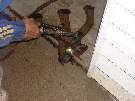
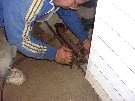
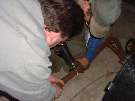
With time on his hands, Cowboy decided to lube the propshaft u-joints. Legs #5. Will it ever end? Just how low is that B anyway? Then another small oops, a clearance problem with the rear air cleaner. Not a big deal, just a little more time required to add a third shim to the left engine mount. It's always something. Then time to hook up the exhaust head pipe. Tom has an old one lying around, but needs to remove the inner sleeve remaining from a prior tail pipe. Score another on for the magic gas axe. Then back to the sawzal to trim the exhaust pipe to the right length to mate with the head pipe. Already lost count of the number of times we jacked this thing up. Give the bumper a boost again guys.
|
 |
 |
 |
 |
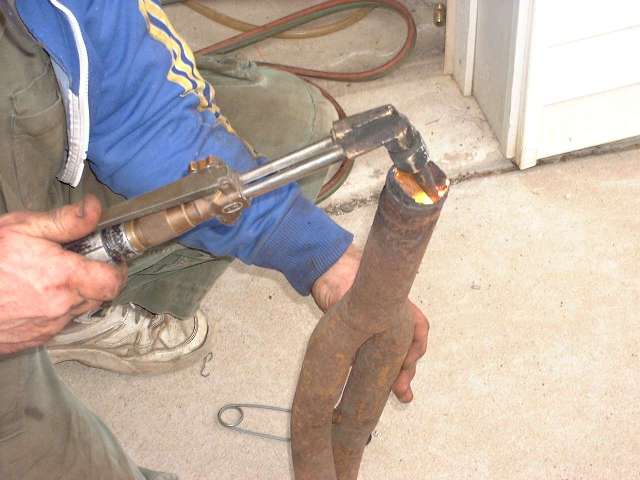
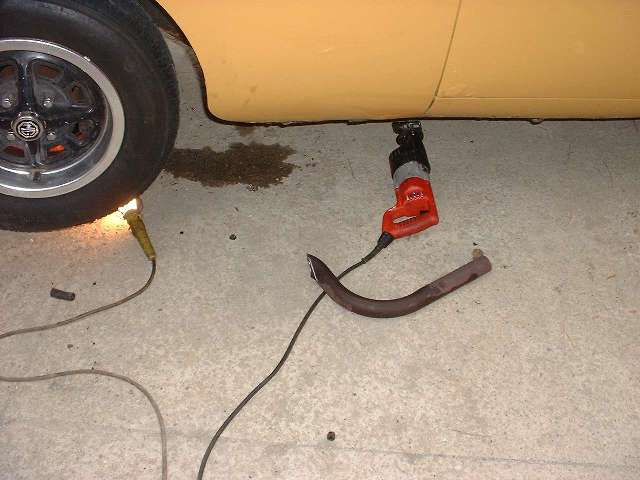
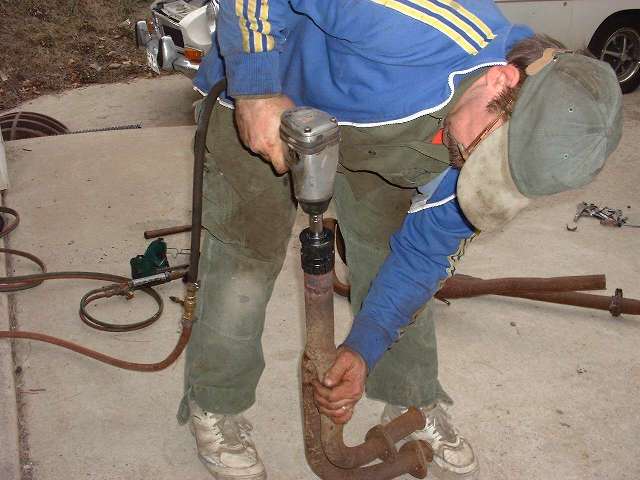
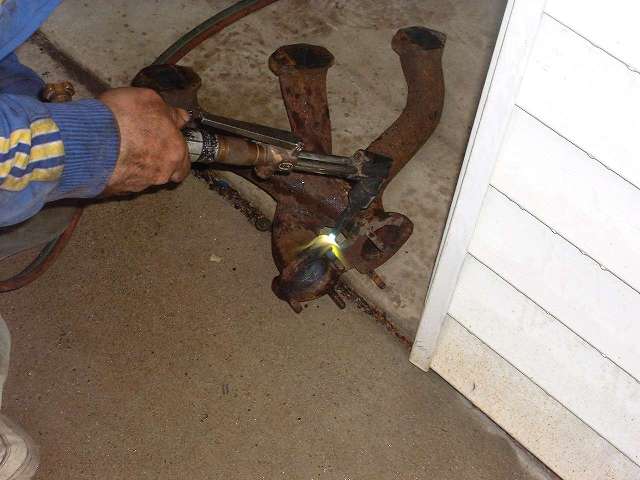
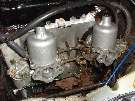
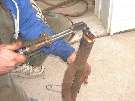
Taking a few minutes with the pipe expander collet and the air impact wrench. Need to get the inside ridge out of the head pipe where the prior exhaust clamp used to be. Mid afternoon by now, but it's finally running. Oh no! Not an exhaust leak! A stripped thread on one pipe connector stud on the bottom of the exhaust manifold means having to remove the carbs and manifolds again to R&R the stud. Since the pipe clamp did what it was supposed to, the head pipe won't separate from the exhaust pipe until Tom gets the sawzall out again. Then back to the blue wrench to warm the manifold flange and unscrew the damaged stud without breaking it.
|
 |
 |
 |
 |
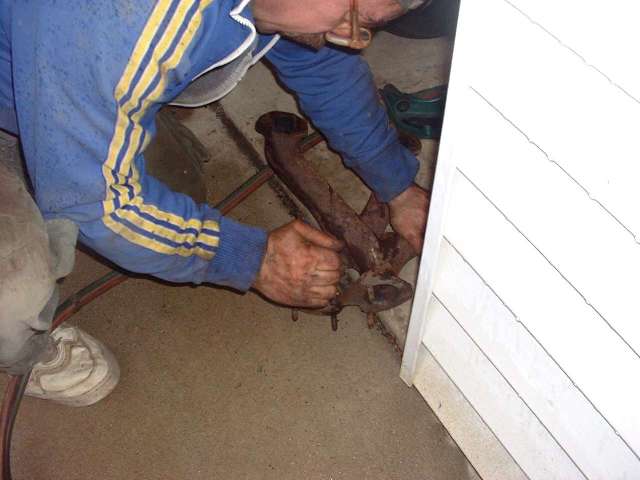
Buff out the sealing cone in the bottom of the exhaust manifold, run a tap through the stud hole to clean up the thread, and install a new stud. While we're at it, check all the studs and replace another one, because we don't want to go through all this again later. Finally getting the manifolds and carbs back on again, I'm told practice makes perfect. Early evening by this time, the weather changes, and the rain sets in, so it's time for the job to move indoors. Get yet another good used head pipe and start over down below. Cut head pipe to length, then discover it's a different model with smaller tubing size, same diameter as the exhaust pipe. So back the the sawzall again to cut a larger diameter sleeve coupling from the first head pipe.
|
 |
 |
 |
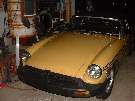 |
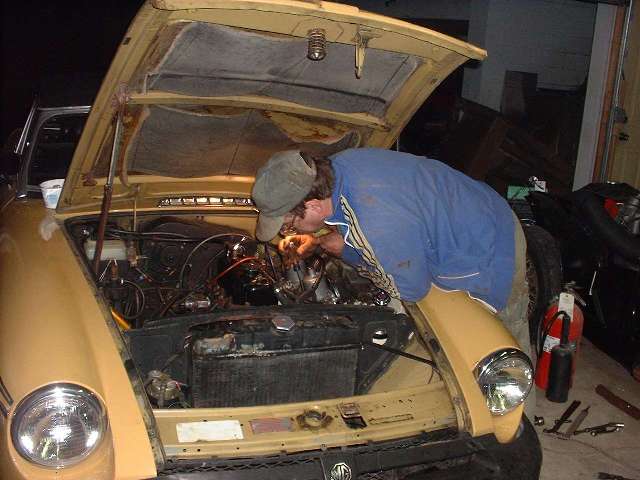
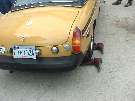
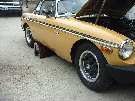
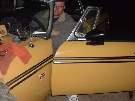
Substantially past sundown, weather turned chilly and windy, tuning the new carbs by drop light. Terry thinks the engine sounds wonderful, is ready for a test drive. Get the air cleaners installed, and do a final check of all the little bits, and all is right with the world. Well, almost all. The poor B has some small problems with the tail lights and brake lights, so we opt not to hit the streets at night. And it could use just a little more tinkering to get it tuned to its best, and it's going on 9:00 pm, so just put it to bed for the night and take up the good cause another day. Pitty that Terry had to get a ride home this time, but the Pheonix is destined to rise another day. And when it does, watch out for lead foot! Terry's gonna have some fun!
|
 
back - top
|

©2001 Chicagoland MG Club, All rights reserved.
|