MGB Engine Rebuild
Disassembly Day
December 6, 2003 - Downers Grove, IL
(Reassembly on next page, January 24, 2004)
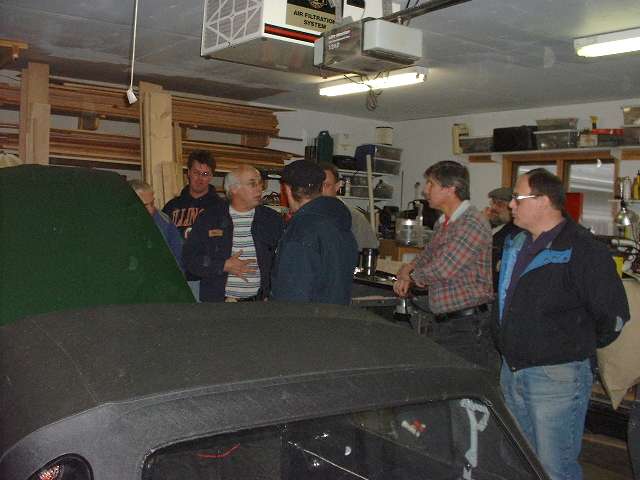
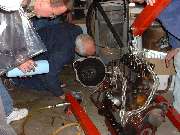
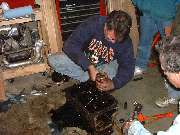
A dozen people get a little crowded in half a garage, but we have work to do.
Click for BIGGER pictures below, average 37K.
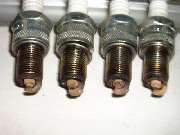
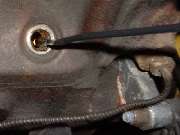
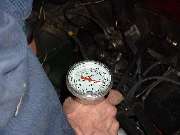
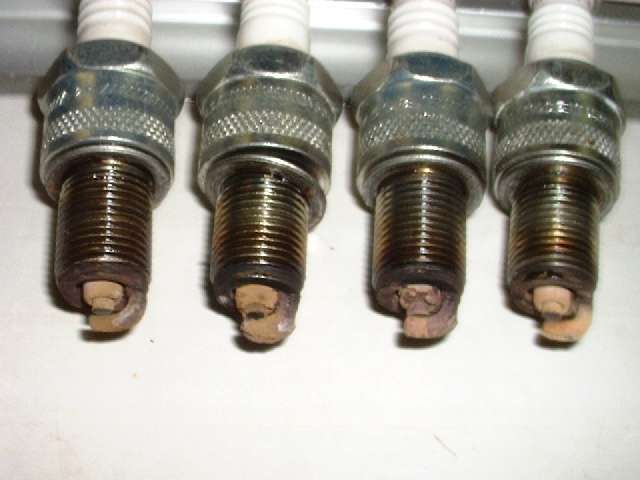
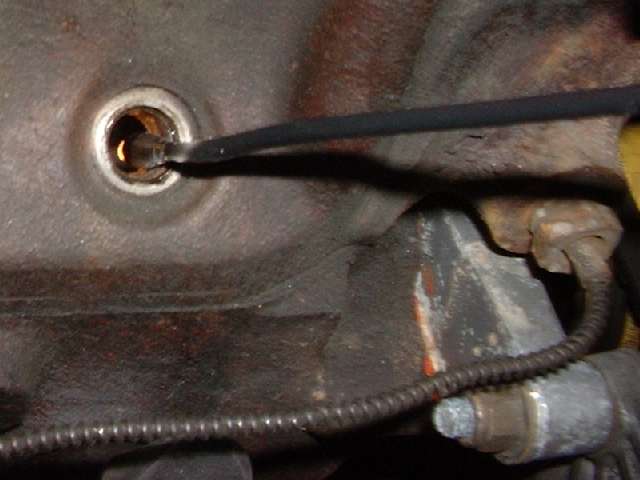
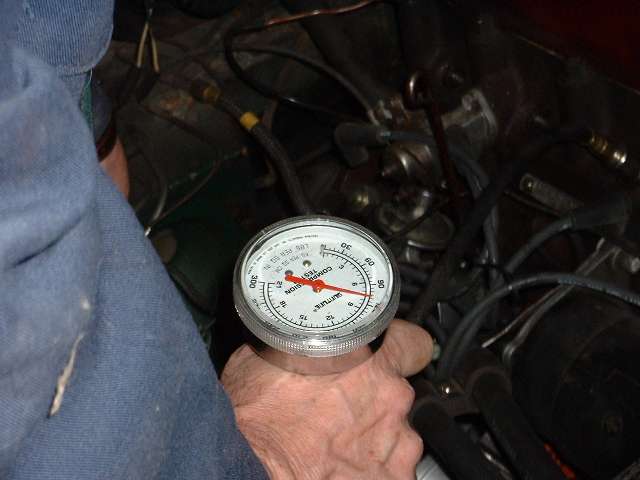
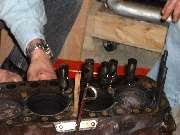
Some diagnostic work comes first. The plugs don't look too bad, aside from some solid deposits on 2 and 3. The little flex light gives us a look inside the cylinders before removing the head. Compression looked just a little low at first, but a second test turned up better numbers. Looks like it should start and run just fine, which it did. Problem is that it was blowing oil out the tail pipe, about a quart every 50 miles or so. Suspect badly worn valve guides.
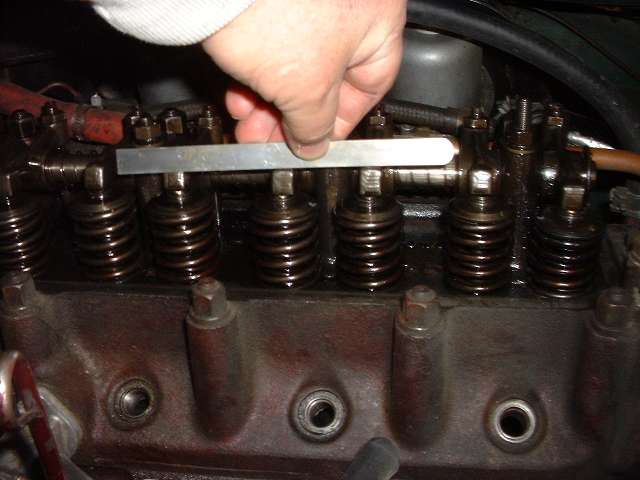
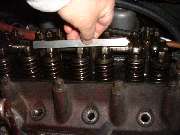
Picture on the right above shows an easy way to find top dead center. Find the cylinder where two valves are open at the same time. Lay a straight edge across the ends of the rocker arms. Rotate engine slowly forward/backward until the straightedge lies level. With the two valves open the same amount, the piston is at top dead center. This works for a stock engine, but may not work with a up-rated camshaft with special cam timing.
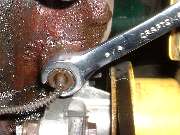
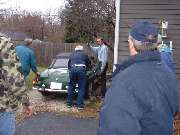
Use only a flare nut wrench to loosen the temperature sensor retaining nut. An open end wrench will often just round off the corners of the brass nut. The thin wall hollow brass nut cannot be replaced without breaking the small signal tubing, and that leads to a $90 cost to repair the gauge. With engine out, the bellhousing is oily inside with not much oil on the flywheel, indicating that the gearbox front seal has been leaking. Parking the car outside leaves more working space inside.
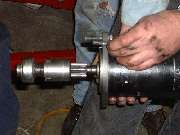
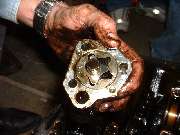
Picture on right above is the nearly new replacement starter, inertia type with a non-standard free-wheel ratchet for the pinion gear. The Bendix drive inside the gear was defective, not allowing the gear to return fully to clear the ring gear on the flywheel. You can see about 3/8 inch of the end of the gear teeth highly polished where it was running constantly in mesh with the ring gear with engine running. This starter is going back for warrantee exchange.
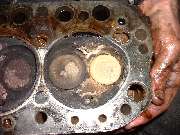
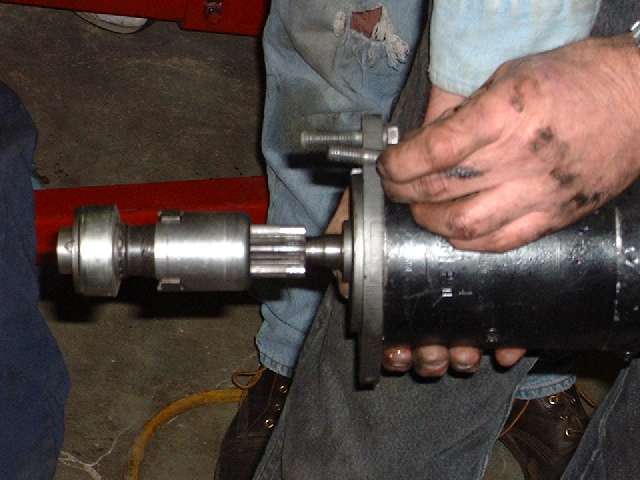
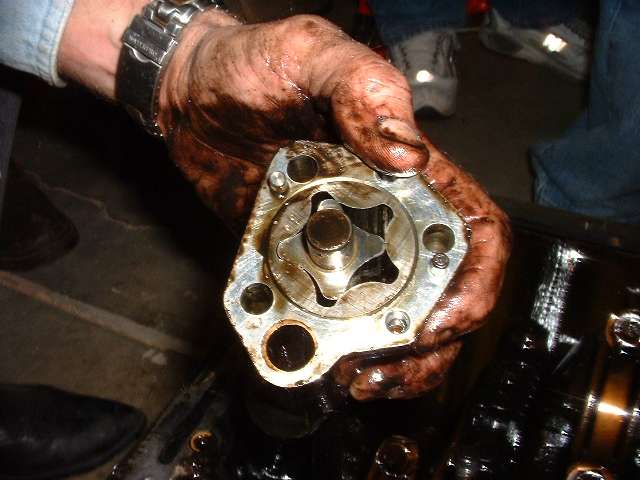
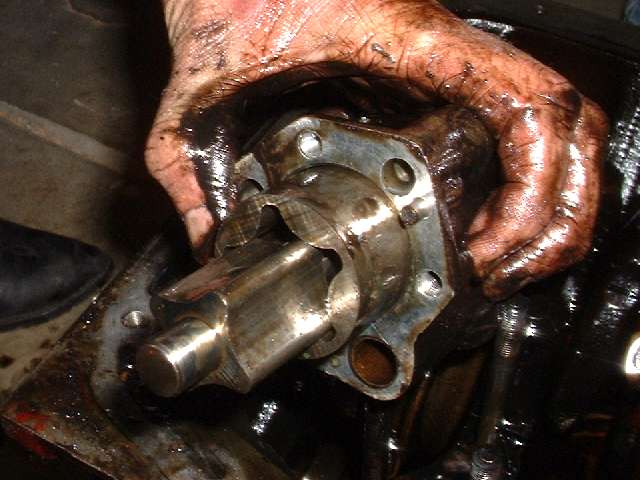
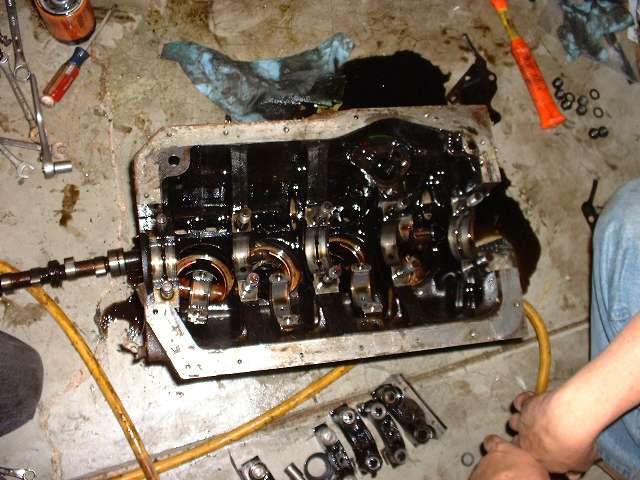
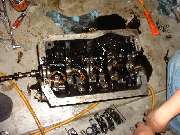
The combustion chambers had some deposits inside, looking like a little water stone and a little burned oil, but not too bad. Most of the tappets looked good, except one with a little spalling on the bottom end. That one was sitting an a cam lobe that had a small chip of steel missing out of the apex. Trash one camshaft, but the need to buy a new one gives a good excuse to install an uprated cam for a little performance upgrade. The oil pump actually looks pretty good, but for the five main bearing engine the two piece rotor set is fairly cheap, and good insurance when rebuilding an engine.

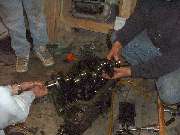
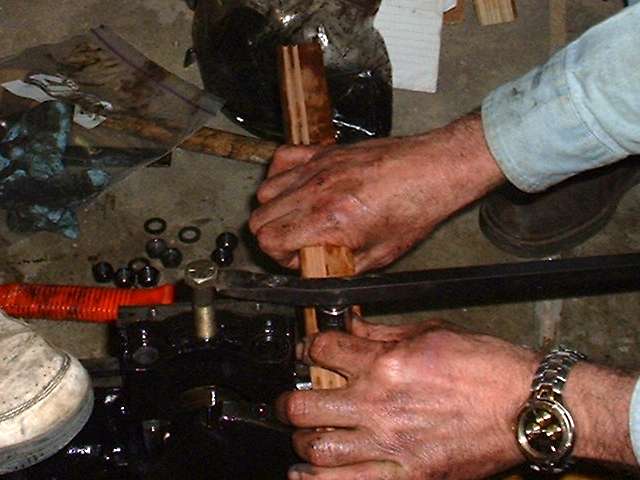
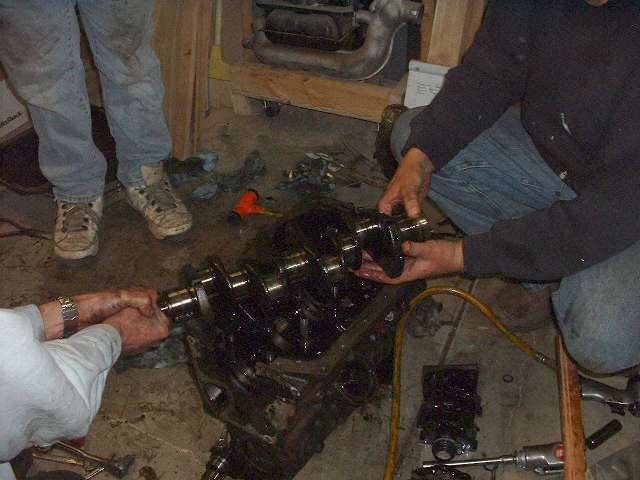
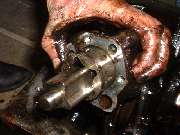
With all else removed, we're down to the crankshaft and pistons. The air impact wrench makes short work of the main bearing cap nuts. A little tapping is enough to lift out #2 and #4 main caps, but #1, #3, and #5 require a little persuation with large pry bar. Eight more bolts will remove the big end bearing caps from the piston rods, and the crankshaft lifts out easily. Tilt the engine on its side to push the pistons out the top, and be sure to put the bearing caps right back on the original connecting rods before they get mixed up. The connecting rods are machined in assembly, and the large bore is never exactly aligned with the split line. So switching a bearing caps between two different connecting rods will result in one bore being too large and one bore being too small. If later assembled back into the engine like that, the smaller bore will make the bearing sieze on the crank journal, and the crankshaft will not rotate.
This engine rebuild is scheduled to continue in January after machining of the engine block and cylinder head is finished.
See next page for the January 24, 2004, engine reassembly session.
|

©2003 Chicagoland MG Club, All rights reserved.
|